Ashenfall progression at a glance
Ashenfall is not one flat difficulty band. The story moves through increasingly dangerous regions and introduces a new material tier, environmental problem or boss gate at each major step.
| Region | Progression role | Confirmed features and hazards |
|---|---|---|
| Temple Woods and Bramblemead | Tutorial and first settlement | Doric, Vannaka and Zanik teach gathering, cooking, combat and magic before the Wise Old Man starts the wider adventure. |
| Brynmoor | Opening region | Part of the original Early Access world and the starting stage of Kuldra’s Saga. |
| Ghornfell | Early dragon progression | The second original region and the route toward General Velgar. Bloodblight areas make poison preparation important. |
| Fellhollow | Mid-game expansion | Wither-rot, Death’s questline, Farming, Steel gear, mounts and Imaru the Revenant Dragon. |
| Dowdun Reach | Fortress progression | Black Knights, Mithril-tier gear and the Black Knight Titan. The Titan is the confirmed gate before Umbral Sands. |
| Umbral Sands | Late-game desert | Sunscorch, quicksand, Moon Garou quests, Adamant gear, Red Dragonhide, Infinity Robes, the Fight Cave and Fuzan. |
| Scorned Wilderness | Version 1.0 endgame | A buildable Hub, a separate no-build Raid area, Regicide and Kuldra the God-Eater. |
The regions above describe story progression, not a promise that every boundary or side area appears under the same label on third-party maps.
How the in-game map works
Open the Map tab at any time or press M on the default PC layout. Unexplored land is covered by fog and becomes visible as you travel.
- Drag with the left mouse button and use the scroll wheel to zoom.
- Right-click to place or remove a personal marker.
- Middle-click to ping a location for other players in the world. The ping creates a waypoint and distance indicator.
- Primary quests appear in gold and remain active.
- Secondary quests appear in silver and can be toggled on or off.
- When an objective requires travel, the quest system can place its own gold or silver map marker.
These controls come from Jagex’s official map help page. Controller prompts should be taken from the current in-game menu.
Region hazards to prepare for
Poisoned areas in Ghornfell
Bloodblight locations are associated with Velgar’s poison. Carry current-game antipoison supplies and avoid treating ordinary food as a substitute for hazard protection.
Wither-rot in Fellhollow
Fellhollow revolves around Imaru’s corruption and the Soul-rift/Wither systems. Establish a return route before exploring far from safe stations.
Sunscorch and quicksand in Umbral Sands
Official 0.12 notes confirm that prolonged exposure to the desert sun applies Scorch, which accelerates hydration loss. Use shelter and shade, or travel during dawn and dusk. Quicksand is a separate traversal hazard; route around it until the game gives you an appropriate way across.
The Scorned Wilderness split
The Hub permits construction. The Raid does not. Treat the Hub as the last staging area: repair equipment, organize supplies and agree on a recovery plan there before moving into the combat space.
A reliable exploration routine
- Select the primary objective or toggle the secondary quest you intend to complete.
- Carry protection for the region’s confirmed hazard.
- Reveal the route before transporting rare materials.
- Mark locked entrances, high-tier resources and difficult recovery locations.
- Establish Lodestone access where the current build rules permit it.
- Return when ordinary enemies consume too much food or equipment durability; that is a useful sign that your gear tier is behind the region.
About screenshots and coordinates
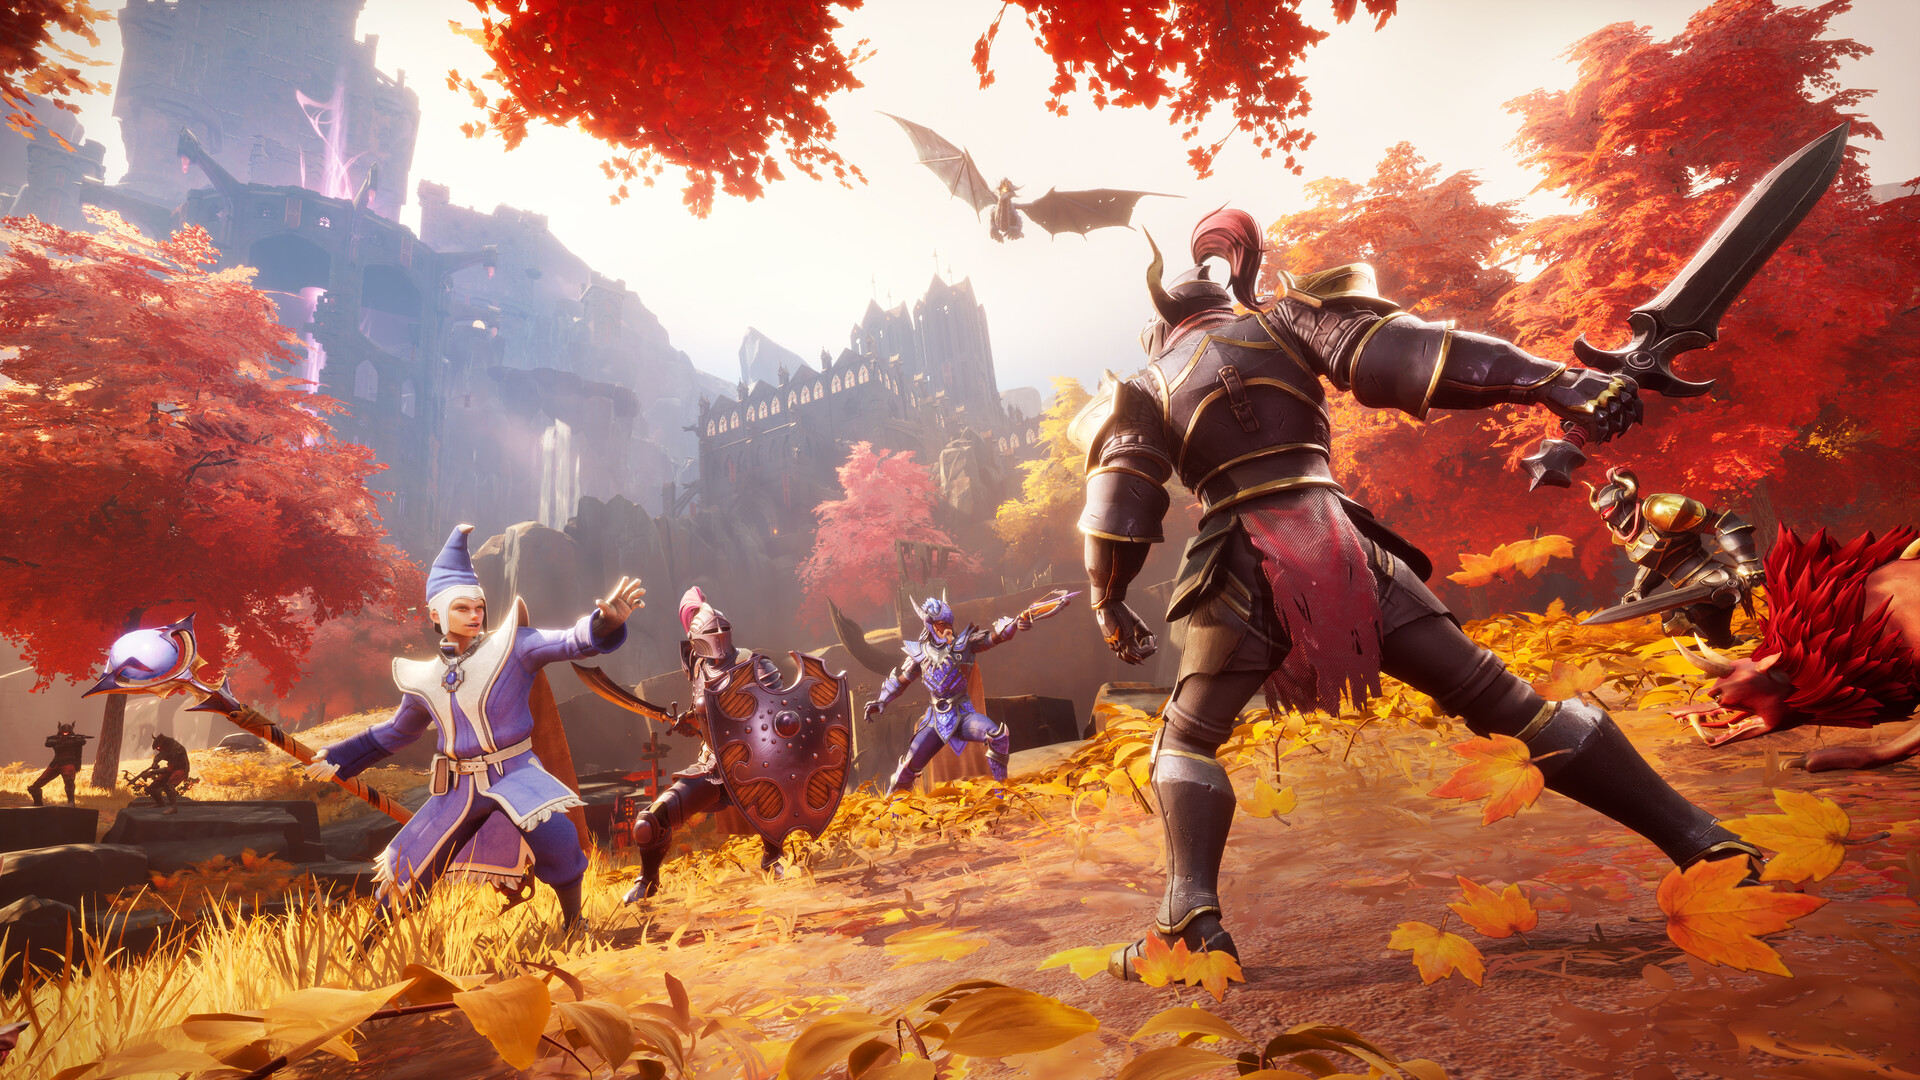
The hero image on this page is representative official artwork, not proof of a precise coordinate. Exact resource nodes can move between updates, so this guide prioritizes region, access gate and hazard information over copied Early Access coordinates.